
I pulled the trigger and finally booked my bucket-list trip to India. I was ready to start planning my epic 7-week trip around the country. But I had no idea what I was in store for, as the hardest part was yet to come. I had heard horror stories about getting through the Indian Tourist eVisa application process, with travelers giving up on trips already paid for due to technical glitches in the online application. My intent isn’t to scare or deter you from visiting India. It’s to demonstrate how a little planning can make it a much more positive experience.
In this blog, I’m sharing my application tips and fixes that helped me complete my application in under 2 hours and get an approval in just 12 hours. Given the uncertainty of the visa process, I can’t guarantee you’ll get the same result, but this is what worked for me.
This article is based on my personal experience applying for an Indian tourist eVisa and is not official immigration advice. Requirements and processing times may change.
There Are Three tourist eVisa options to choose from:
- 30 – Day visa
- 1-year visa (This is the visa I chose because I am going for 7 weeks)
- 5 Year visa
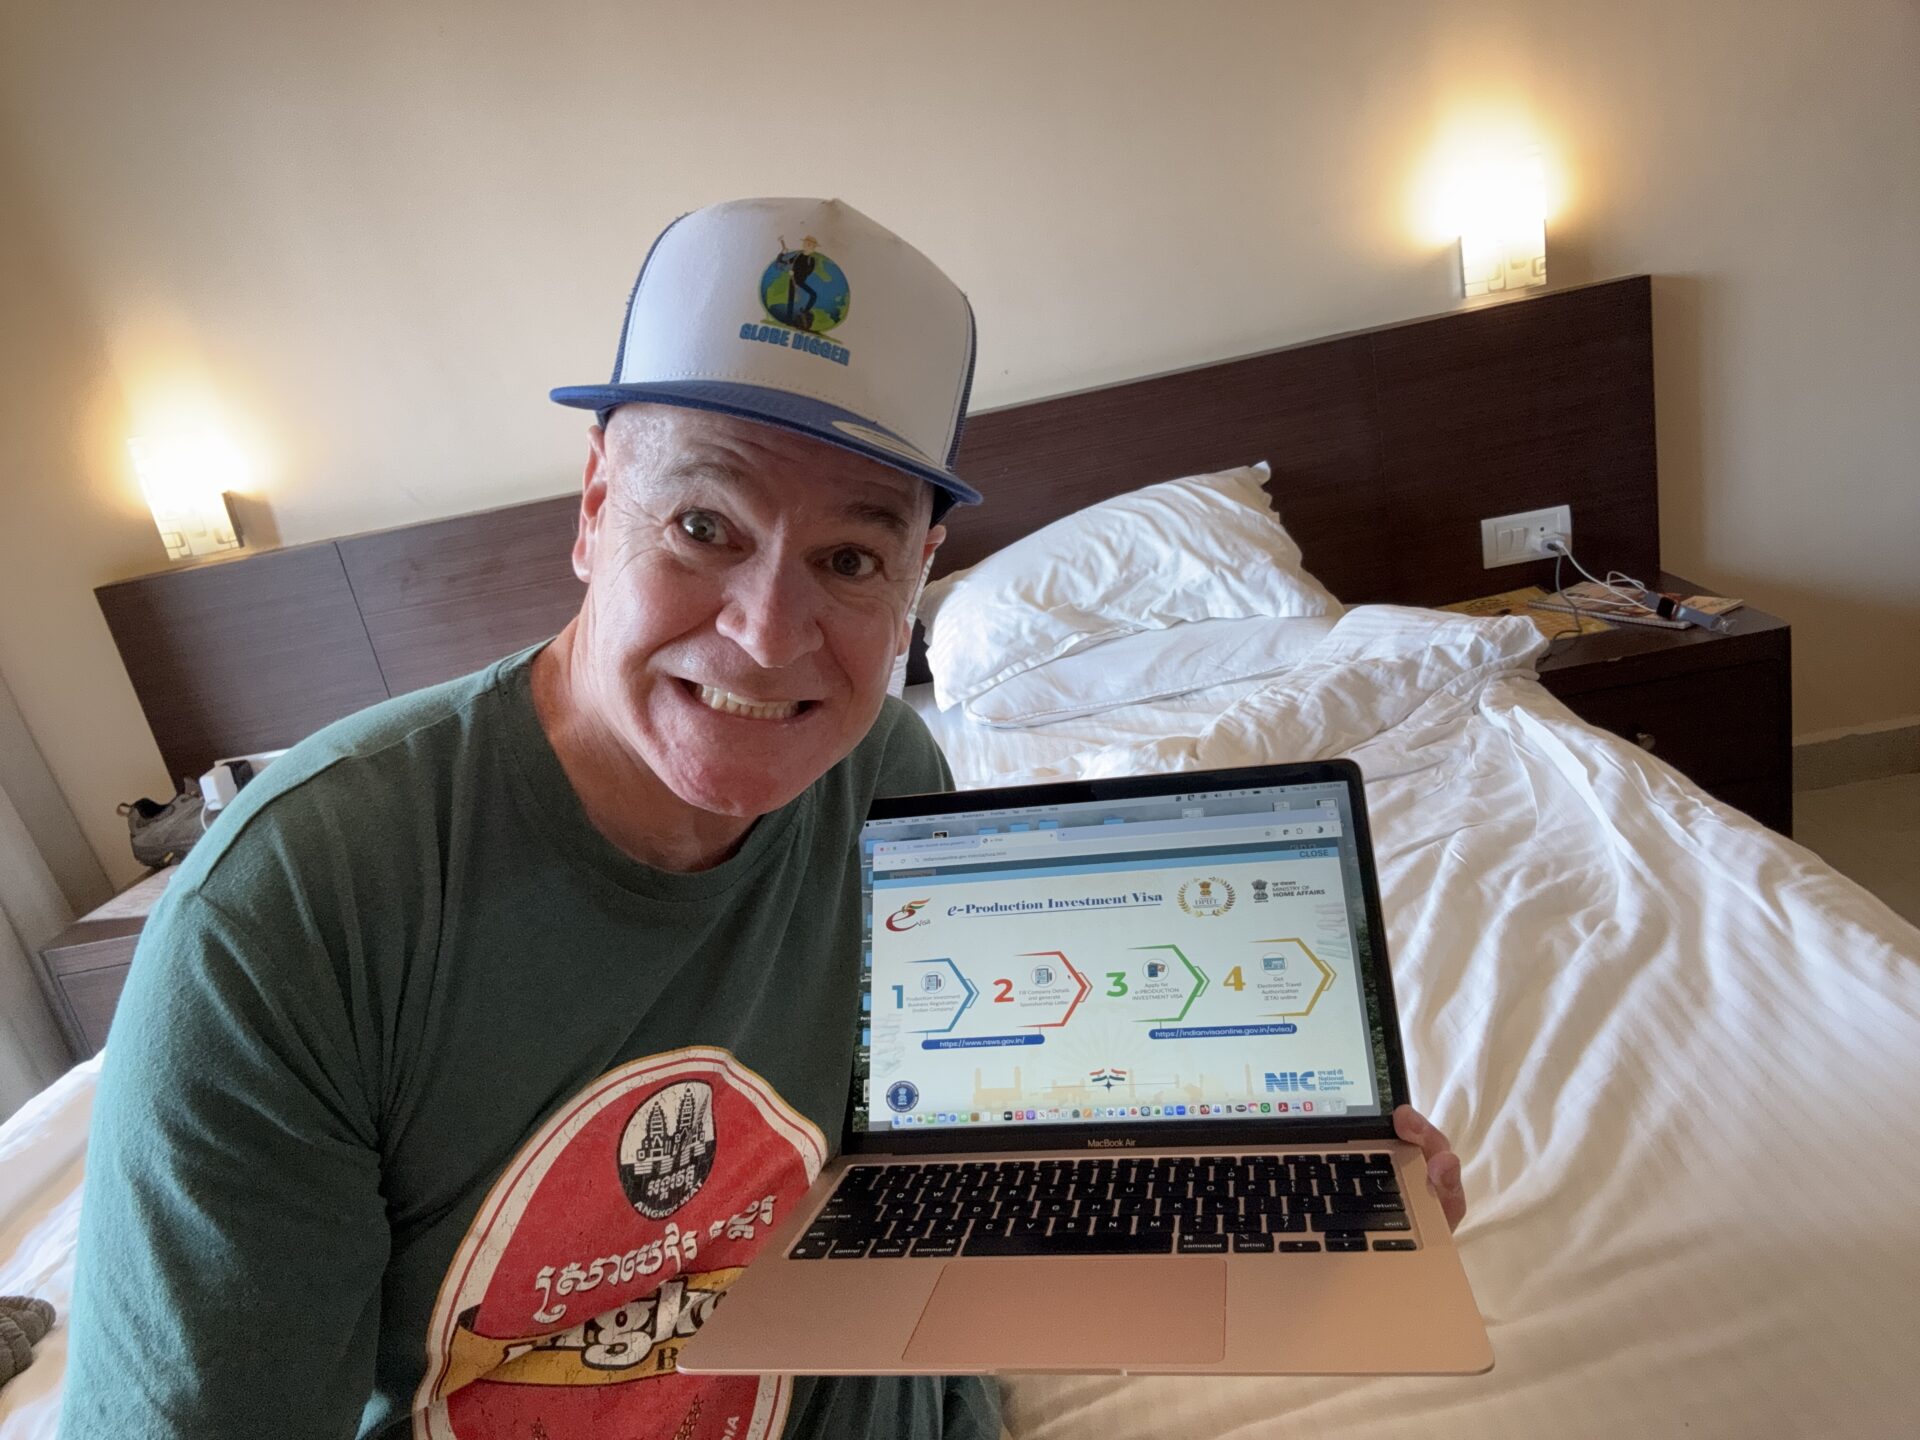
Here is a link to view the Indian tourist eVisa options on the Indian visa official website.

Third Party e-Visa Companies
There are many third-party companies that promise quick, easy approval. The Indian government does not endorse any third-party visa companies. This alone was enough to scare me, as I would not have direct support if I needed it. The cost of using a third party is also a factor, as you will pay double or even triple what I paid by going through the Indian government. I paid $40 USD for my eVisa.
e-Visa vs Embassy Visa
Travelers from countries like Canada don’t often think much about needing a visa in advance. It’s rare that we do. But countries like China, Vietnam, and India require visas for most travelers. The eVisa process has a quick turnaround time of as little as 12 hours, as I learned. The Indian Embassy states on its website that visas take thirty days. I was about 30 days out, and I wasn’t willing to risk it.
Some Other Points To Consider When Going The Embassy Route:
- No technical glitches. Once you submit and they’ve reviewed, your chances of getting your Indian Tourist Visa are very high.
- You will likely need to drive to the embassy or consulate, which could be a fair distance away depending on where you live.
For more information on how to apply for a tourist visa through the Indian consulate in Toronto, click here.
For more travel tips and content subscribe to my monthly newsletter
Indian Tourist eVisa Timelines
How Long Does It Take to Apply for an Indian Tourist e-Visa?
I have heard varying stories about how long it takes to complete the online forms, which usually take 6 hours with persistence. Others have told me it took days and several restarts to get their approval.
For me, it took two hours from start to finish, including fixes and retries. It was my preparation and planning that made it fast, which I will cover in more detail.
The Most Time-Consuming Parts of the Indian Tourist eVisa Application
From my experience, this is what you should start preparing for.
- Uploads. Specs, file types, and size requirements are crucial.
- Technical errors are inevitable and will occur frequently.
- The Payment Page. Three strikes and you’re out, and you have to start over. Failing is not you; it’s them, but you still need to get it right the first time, or the second!
- Customer Service. There is a phone number you can call and an email option. I have never had to test this, so let’s focus on avoiding them altogether.

How Early Should You Apply For An Indian Tourist eVisa

The official standard is 72 hours after your application is successfully submitted. In practice, it now takes at least 10 business days, with many waiting over 15 business days for their eVisa. That’s three weeks. When I arrived in Mumbai, this was the first question they asked at check-in. How long did you have to wait for your eVisa? This is clearly a hot-button topic among travelers.
Why applying early reduces stress
I recommend applying at least 30 days before your trip. When I applied, I couldn’t apply earlier, but that has changed. You can now apply up to 90 days before your arrival date. If you give yourself time, you won’t stress as much about technical glitches or not getting the visa in time. I know people who have lost their trips due to factors beyond their control. Don’t let that happen to you.
When I arrived in Mumbai, the first question I was asked at check-in was, “How was your visa experience?” Clearly, everyone in India knows this is a problem.
My Indian Tourist eVisa Processing Timeline
Date and time Submitted: December 22, 9 PM EST
Date and time approved: December 23rd, 9 AM EST
Total Processing Time: 12 hours
I have yet to speak with anyone who shares my experience, so I wouldn’t consider this normal, nor would I recommend leaving it for 24 hours before you leave.
The biggest factor for me was understanding potential glitches and knowing how to fix them. Also, understanding red-flag topics, such as countries visited and connections to Pakistan and other neighbouring countries, is key to a quick approval. Double and triple-check that all your basic information is correct. Most importantly, be honest, and you’ll be fine.
What will slow down your application is winging it and not being prepared. Not understanding how the Indian government processes visa applications will likely result in delays or outright rejections. Knowing the visa application red flags in advance helped me a lot.
What happens if there are issues or rejections

If there are issues with your application or if you are rejected, your India travel plans are put on hold, but they aren’t done. The problem is that the Indian government provides few details about why you were rejected. Chances are, you will be left trying to figure out why. The intent of this blog is to help you figure that out.
Some common reasons include incorrect passport details and photo specifications, as well as connections to neighbouring countries such as Pakistan. But you likely won’t know for sure why. I suggest using a new email so the system doesn’t trigger anything from the previous email you used. There are many other reasons you could be rejected, so start by following my best practices and tips for the Indian Tourist eVisa.
Documents I Prepared Before Starting the Indian Tourist eVisa Application
Properly preparing your documents in advance is crucial. This is where you do your homework. The tips in this section will ensure you are well prepared.
Documents to have ready:

- Passport Scan (PDF)
- Digital Photo
- Address proof (especially for Canadians who do not have an address on their passports; Canadian passports are not proof of address)
- Credit Card (Ensure your credit card is ready for online transactions in India. This could kill you at the very end)
Canadian Applicants – eVisa Tip
As I mentioned, Canadian passports, as well as those of many other countries, do not include proof of address. If you are applying from one of these countries, you will need to provide proof of address. My driver’s licence worked for me, but I was ready to attach a utility bill if that didn’t work. I recommend having at least one backup in case one fails. Without an additional proof of address, you will receive a rejection.
Indian eVisa PDF Requirements
Knowing the exact specifications before you apply for your tourist eVisa is crucial. You must stay within these limits.
- The 300 KB limit is very small.
- Scans need to be clear.
Where this can get tricky is maintaining quality while reducing image size without noticeable distortions or imperfections.
Tools I Used to Resize PDFs
You will need to use some tools to reduce the size of the PDFs. I used PDF Aid and iLovePDF. These should do the trick, but you will still need to play around a bit to get to the 300 KB limit. You will also need to download scanning apps. I used different apps for different files, based on quality. I used PDF Scanner and my favourite, Tiny Scanner.
Indian Tourist eVisa Photo Requirements
Okay, this is huge. Do your research before you apply to ensure you choose a photographer with experience with Indian eVisas. The India eVisa photo must be 51 mm by 51 mm, which is smaller than in countries like Canada. Even though you may see 1 MB listed, keep it under 300 KB so the file is accepted. I had to provide this information to the person who took my photos, so make sure you have it with you.
Other factors that are musts that your photographer should do anyway. But just so you’re aware.
- Plain white wall
- Even lighting
- No shadows
- No glare
- No cropping after upload
I am sharing this because with the Indian eVisa, if you are 99% right, that’s not good enough. They don’t offer leniency for Tourist eVisa applications, including photo requirements.
Best Browsers for Indian eVisa Applications
Browsers matter when applying for an India Tourist eVisa. I highly recommend applying on a computer rather than on your phone. Safari is not supported, and using it will significantly reduce your chances of success. I recommend using two browsers for your application.
Google Chrome
This is the browser I used, and it worked. I cleared my cache at the beginning and throughout the application, especially after restarts after being kicked out. I also used incognito mode after frequent boots, which worked for me. Be persistent, and these two tactics do work.
Microsoft Edge
The other browser I recommend is Microsoft Edge in Internet Explorer mode. The technology in India is not up to date, which is the biggest problem with the application. Due to this, Internet Explorer works as well.
Stick to these browser tips, and they will help with the technical glitches.
Technical Issues Filling Out the Form
Do not use commas, periods, or punctuation in text fields
Remember, this isn’t an English exam. Use concise sentences when answering questions. This means no commas, periods, or punctuation. Make sure there’s no space at the end of any answers, even for basic questions like your name and address. If there is, you’ll see a red highlight indicating that your information is incorrect, even though it isn’t. You can’t move on until these issues are fixed.
Red Error Lines; You may Still Be Able To Proceed
Even after you have fixed all your technical glitches, you may still see red error lines. When you see this, keep saving and refreshing the page. You should eventually be able to proceed.
Expect to be kicked out multiple times
You will get kicked out often throughout the process. After you save, refresh the page, and even when you think you are moving along, you will be booted again. What’s even more frustrating is that you often log back in where you think you left off, only to start over. It’s not a complete start over, but it takes you back to where you last saved your work. Be prepared to enter the same information repeatedly.
Persistence matters – keep going and don’t get frustrated
Omitting countries you have visited can put you in the sin bin. They want to know everywhere you have visited in your life, or over the past 20 years, I believe. This is a little excessive, so keep your travel map handy.
You’re going to get kicked out, the page will freeze, and you’ll see those annoying red error lines. Just keep going, and you will get there. Keep saving your work every couple of minutes because you never know when your next boot will be. Sometimes, when you think you’ve saved your work, you need to redo the section. Just try not to get frustrated. Save, refresh, re-enter the details accurately, and repeat. Remember, persistence will get you to the finish line.
Choices I Made That May Have Sped Up Approval
Applied during Indian business hours
This is huge. I made sure to submit at 8 am local time in India on a weekday. Avoid Fridays, weekends, and holidays. A quick Google search for Indian holidays is a good idea. First thing in the morning, an application comes across the desk. Everything looks good; this one is easy peasy. Approved! Okay, this is how I imagine it in my head, but I do believe it makes a difference.
Prepare Everything Before Starting
I had all my documents prepared in advance in line with the government’s size regulations and had researched how to answer specific questions, the dos and don’ts, and, of course, how to work around technical glitches. I didn’t want long pauses while I got things organized during the application. You know what that means: another Indian Tourist eVisa knockout punch.
Utilized Chat GPT and Google AI in Real Time

As I was filling out the application, I asked ChatGPT and Google AI for clarification when I wasn’t sure. This helped big time and was a huge reason for my fast approval, if you ask me. Thanks to these tools, I answered everything perfectly with no grey areas.
I cannot guarantee this speeds up approval, but it may help. I do know that my approval came through in 12 hours.
Payment Tips: Avoiding Credit Card Problems
You’re almost there. All that’s left is to pay, and you’re good. This is not the time to let your guard down. You need to plan ahead for your payment strategy too. The reason for this is if you have three failed payment attempts, you have to start over from the beginning.
This is what I did beforehand to prepare, and what I recommend you do.
Call Your Bank Beforehand
Transactions in India, especially if you haven’t traveled there yet, can raise a red flag. This alone could get you blocked. Call your bank in advance to let them know that you will have an international transaction with the Government of India for your tourist visa. Include the date range you will be doing this.
Avoid Multiple Failed Attempts
You want to get this right on your first try. But if you don’t try PayPal, this often works when credit cards fail. If this fails, try a different credit card, cross your fingers, and hope for the best. Pray this isn’t the time for an Indian technological time-out.
Indian Tourist EVisa Red Flags to Avoid
There are a few red flags that could delay or trigger a rejection. The big one is any links to Pakistan. If you have any lineage to Pakistan, expect a more thorough review. If you have visited Pakistan, this can be a red flag as well, especially if you visited in the last 6 months. I have been told by travelers as long as you haven’t visited Pakistan in the last six months, you shouldn’t have a problem getting an approval.
1.Links to Pakistan
I have a friend who was rejected because her family name was linked to Pakistan, which clearly was not the case. She called the support line, and they quickly approved her application after she explained. Clearly, the government pays very close attention to this.
2. Previous Travel to Neighbouring Countries
They want to know if you have visited any of the neighbouring SAARC countries, such as Sri Lanka and Nepal. Visiting these countries shouldn’t be a problem, as long as you are honest with your answers.
3. Omitting Countries You Have Visited
4.Honesty is the Best Policy
The biggest red flag is not being truthful anywhere in the application. If the government finds any discrepancies in your answers, you will be rejected. Just be honest, and your chances of success are much higher.
Listing Countries Visited Tip
If you have traveled to as many countries as I have (46), this one is a bit tricky. They have a cap of 20 countries; which countries do you include? If you list the last 20 countries you visited, you should be good. I actually screwed this one up and started listing random countries I’ve been to, then I was blocked from going further. I was still approved with no issues. This one, especially if you haven’t visited the SAARC countries recently, is of low importance.

Timeline: From Submission to Approval
This is what my actual Indian tourist eVisa timeline looked like. It’s extremely fast; I wouldn’t count on a 12-hour approval, even if you follow my recommendations.
All times are in Eastern Standard Time.
Dec 22 – 9 PM Application submitted and payment confirmed
Dec 23 – 9 AM Checked the eVisa portal, and to my surprise, my status was eVisa granted. Yayyyy!
Dec 25 – 8PM Received approval email from the Indian eVisa department.
Indian tourist eVisa approval tip: Don’t rely on the email for your status update. The system is unreliable, and the email may never arrive, even if you’ve been approved. Regularly check your portal for status updates. You will create a password at the start to access your account and portal throughout the process.

Mistakes I Deliberately Avoided
Here are a few mistakes to avoid to help with a fast approval.
- No rushed uploads. This will only result in file size and format errors that affect approval.
- No guessing answers. When unsure, I referred to ChatGPT and Google AI.
- No punctuation. None, notta, never!
- No blurry documents. Make sure all your documents are clean, crisp and clear.
- No applying late at night in Indian Standard Time! Apply during Indian business hours, preferably first thing in the morning, for the fastest results.
Indian Tourist eVisa FAQ (Based on My Experience)
Q. What if my status is stuck?
A. Refresh, save, and repeat. If you get kicked out, log back in and continue. Don’t get frustrated, even if you have to resubmit information.
Q.Can I fix mistakes after submission?
A. Once you submit, you’re all in. Take your time and make sure you’ve answered every question correctly. You likely won’t be able to correct any mistakes, and you’ll have to reapply.
Q. Can I reapply if I am rejected?
A. Yes, you can reapply if you’re rejected. Since you likely won’t know for sure why you were rejected, I recommend trying a different email just in case there was a red flag that triggered the rejection.
Now go successfully apply for your Indian tourist eVisa
After reading this blog, you should be well prepared for a successful Indian tourist eVisa application. Remember, patience is key. Take your time and don’t get frustrated. Before you start your application, make sure you are well prepared using the tips from this blog, answer honestly, and you will have a much better experience than most. It still won’t be perfect; there will be glitches, but you know what to do when that happens.
Once this is done, all you have to do is get on the plane and enjoy India, one of the most beautiful countries in the world. You will find that the Indian tourist eVisa process is fitting as you learn to navigate the most chaotic yet beautiful country on the planet. India is worth every second of the chaos. Once you get there and start exploring the country, you will understand what I mean.
Curious what goes in my backpack and how I pack light? Check out my blog, My Carry-On Packing List for Solo Travel: How to Pack Light
If you’d like to know why I still stay in hostels when I travel, read my blog, Hostels for Solo Travel at 49
How do I plan my solo travel? Check out my blog, My Long-Term Solo Travel Planning Methodology
Here is a link to follow my travel blog
You can find my travel tips here
Check out my solo travel podcast on Spotify
Follow me on YouTube
Watch my travel shorts on TikTok
Follow me on Instagram
Leave a Reply